
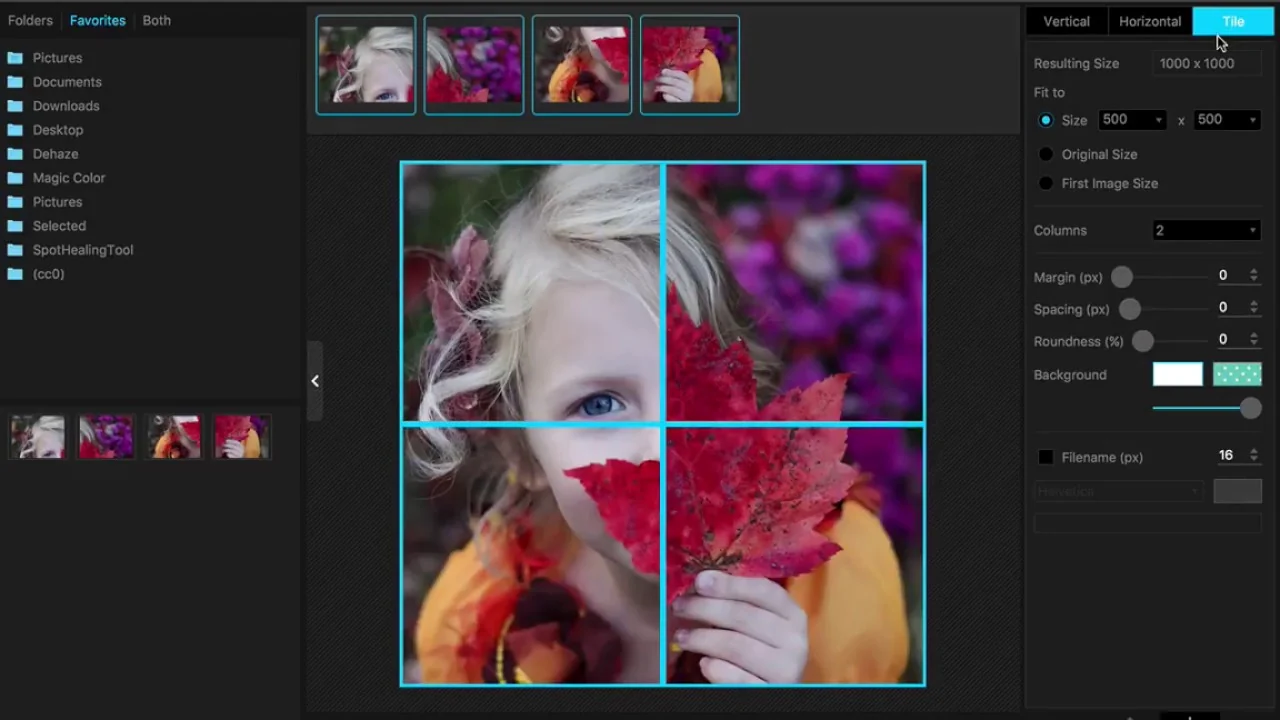
What Does the PhotoScape Splitter Module Do?
The Splitter tab in PhotoScape (called Split in PhotoScape X) divides a single source image into multiple separate image files without losing a single pixel, allowing you to slice either by Rows × Columns (e.g., a 3×3 nine-tile grid) or by exact Width × Height pixels per tile (e.g., slicing a 3240×1080 px panorama into three seamless 1080×1080 px Instagram swipe slides).
Unlike manual cropping in standard editors — where dragging a selection box by hand almost always introduces a 1-to-2 pixel alignment seam — PhotoScape's Splitter calculates exact integer boundaries and exports every tile sequentially (`Photo_1_1.jpg`, `Photo_1_2.jpg`, etc.) into a dedicated subfolder in less than one second.
Step-by-Step: How to Slice a Photo in PhotoScape 3.7 & PhotoScape X
- Launch PhotoScape (if you don't have it yet, grab the free PhotoScape installer) and click Splitter on the circular home launcher (or select the Tools → Split tab in PhotoScape X).
- Click Add (or drag and drop one or more images from Windows Explorer into the Splitter queue). Yes — PhotoScape can batch-split dozens of images at the same time!
- Choose your slicing mode on the right panel:
- Row & Column Mode: Set Columns (horizontal divisions) and Rows (vertical divisions). For example,
3 Columns × 3 Rowsdisplays a live 9-cell overlay grid across your preview. - Width & Height Pixel Mode: Check Set cell size in pixels and enter the exact pixel width and height for each slice (e.g.,
1080 × 1350 px).
- Row & Column Mode: Set Columns (horizontal divisions) and Rows (vertical divisions). For example,
- Click Split, choose your output destination and JPEG quality (set to
95–100%or lossless PNG to prevent compression seams along tile borders), and click Split to export all tiles instantly.
Cheat Sheet: Exact Splitter Settings for Instagram, Carousels & Wall Posters
| Project Type | Source Canvas Size | Splitter Mode & Settings | Exported Tiles |
|---|---|---|---|
| Instagram 3×3 Profile Grid | 3240 × 3240 px | 3 Columns × 3 Rows | 9 squares of 1080 × 1080 px |
| Seamless 3-Slide Panorama Carousel (1:1) | 3240 × 1080 px | 3 Columns × 1 Row | 3 swipeable squares of 1080 × 1080 px |
| Seamless 4-Slide Portrait Carousel (4:5) | 4320 × 1350 px | 4 Columns × 1 Row | 4 portrait slides of 1080 × 1350 px |
| 4-Sheet A4 Wall Poster (2×2 Rasterbator) | 4960 × 7016 px | 2 Columns × 2 Rows | 4 A4 print sheets at 300 DPI (Print Guide) |
| Sprite Sheet / UI Tile Unpacking | Any sprite grid | Pixel Mode (e.g., 64 × 64 px) | Individual sprite frames for Animated GIFs |
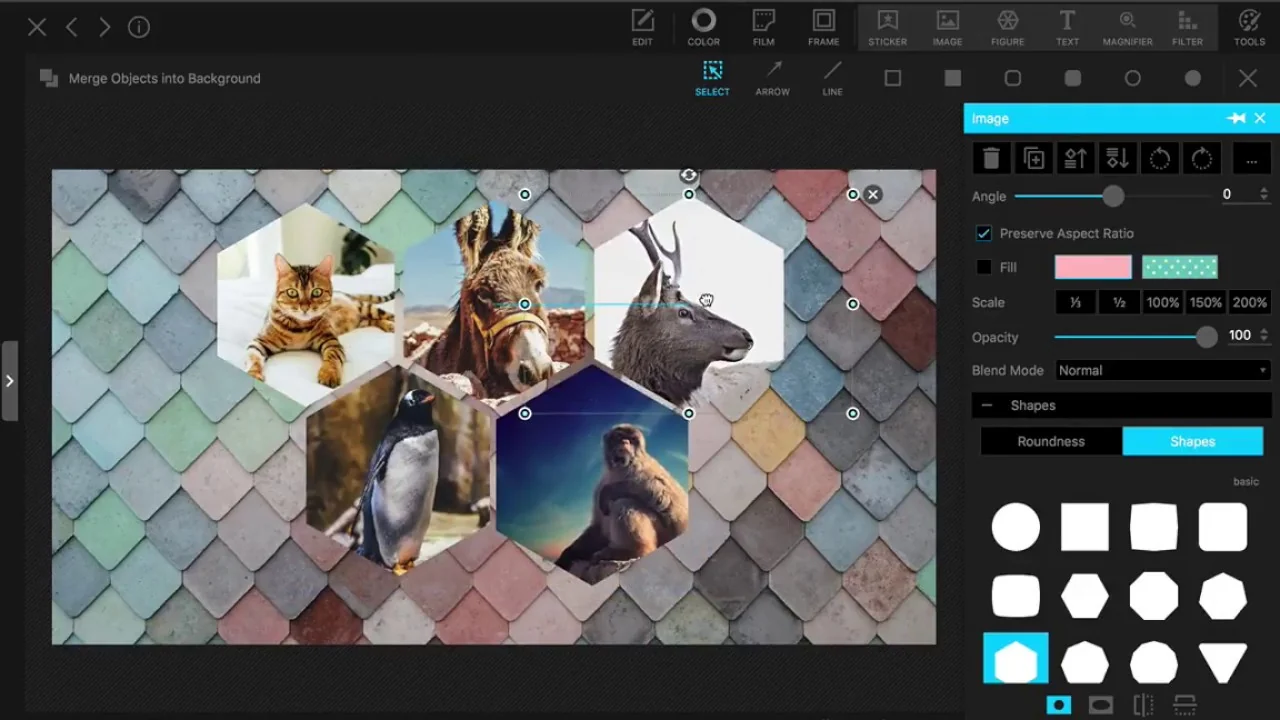
Pro Workflow: Combining Page Collage + Splitter for Seamless Carousels
Want to build a multi-slide Instagram or LinkedIn carousel where photographs and text span across the border between Slide 1 and Slide 2? First open the Combine or Page Collage tab to create a wide 3240 × 1350 px canvas, add your transparent PNG cutouts and typography in the Editor, save the master banner, and drop it into Splitter set to 3 Columns × 1 Row.
Frequently Asked Questions
In what order should I upload a 3x3 split grid to Instagram so the picture isn't upside down?
Because Instagram adds new posts to the top-left of your profile, upload the 9 split tiles in reverse order: start with the bottom-right tile (Row 3, Column 3) and finish with the top-left tile (Row 1, Column 1).
Can PhotoScape split 20 different panoramas at the same time?
Yes! Unlike single-file web splitters, PhotoScape's Splitter window accepts a batch queue of multiple images and slices all of them using the same Row x Column rule in one click.
How do I prevent visible white lines between split tiles after uploading?
Make sure your source image width is an exact multiple of the number of columns (for example, 3240 px divided by 3 columns = 1080.0 px with zero rounding remainder) and export at 100% JPEG quality or PNG.
How do I join split tiles back together into one image?
Open the Combine tab, drag all the tiles into the list, select 'Checker / Tile' mode, set the number of columns (e.g., 3), and set Cell Spacing and Margin to 0 px.