
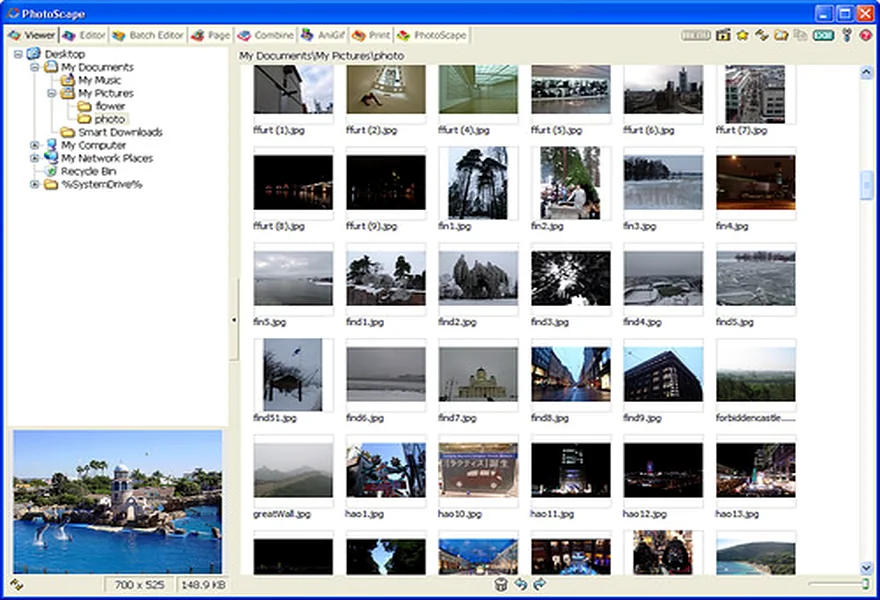
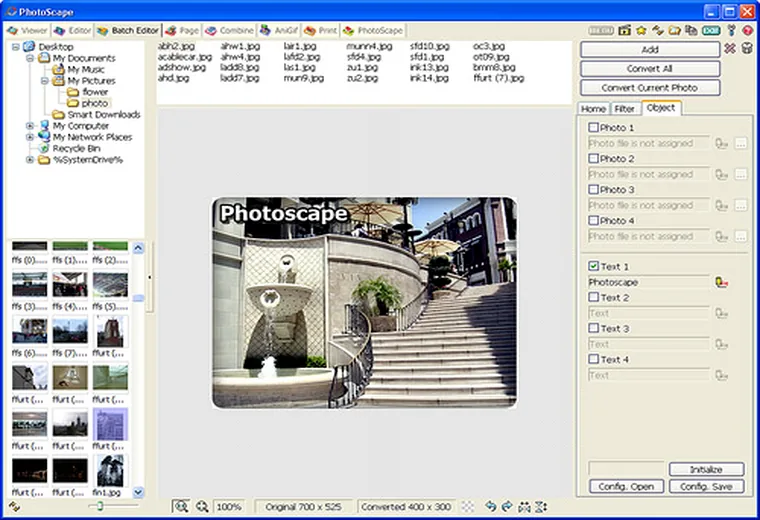
Step 1: Load Your Folder into the Batch Editor
- Open PhotoScape and click the Batch Editor tab from the top navigation bar (or radial menu).
- Use the left folder tree to navigate to your source directory, then drag all target photos into the center queue list.
- On the right panel under the Home tab, select your desired frame or margin if needed.
Step 2: Configure Exact Pixel Dimensions
Check the Resize box on the right panel and choose from 10 scaling modes:
- Adjust Width (e.g., 1200 px): Automatically calculates proportional height so portrait and landscape photos never stretch.
- Adjust Long Axis (e.g., 1600 px): Ideal for mixed folders containing both vertical and horizontal camera shots.
- Crop to Fixed Ratio: Automatically center-crops every image to 1:1 (Amazon/Shopify square) or 16:9 (YouTube thumbnails).
Step 3: Add a Logo Watermark or Text Overlay
Switch to the Object tab on the right panel. Check Photo 1 to load your transparent PNG company logo, set the anchor position to Bottom-Right with a 20px offset, and lower Opacity to 65% for a subtle watermark. Click Convert All to export the entire batch.