Method 1: Creating a Grid Collage (Page Tab)
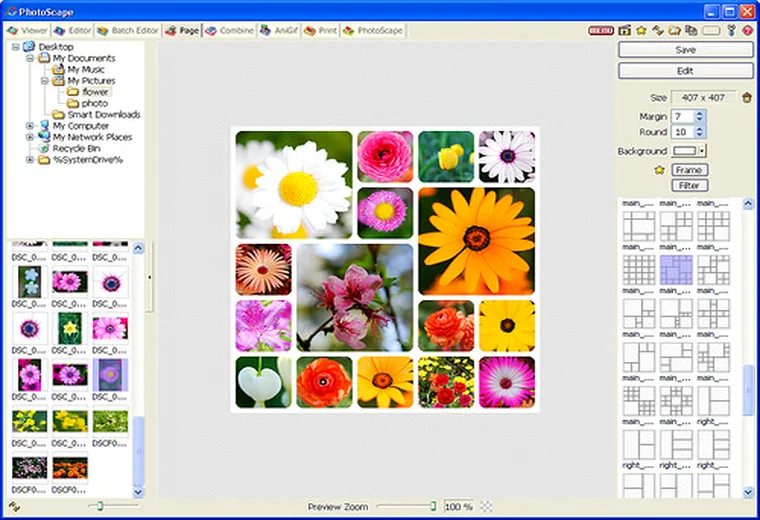
- Click the Page tab in PhotoScape.
- Browse the right-hand sidebar and pick one of the 112 grid templates (from 2-photo comparisons up to 10-photo storyboards).
- Drag photos from the left file browser into each empty slot. Double-click or drag inside a cell to pan and zoom the focal point.
- Set output canvas dimensions (e.g.,
2400 x 2400 pxfor crisp printing), adjust Margin (border thickness), and increase Round for smooth rounded corners. - Click Edit to jump directly into the main Editor if you want to add captions or speech balloons across the finished collage.
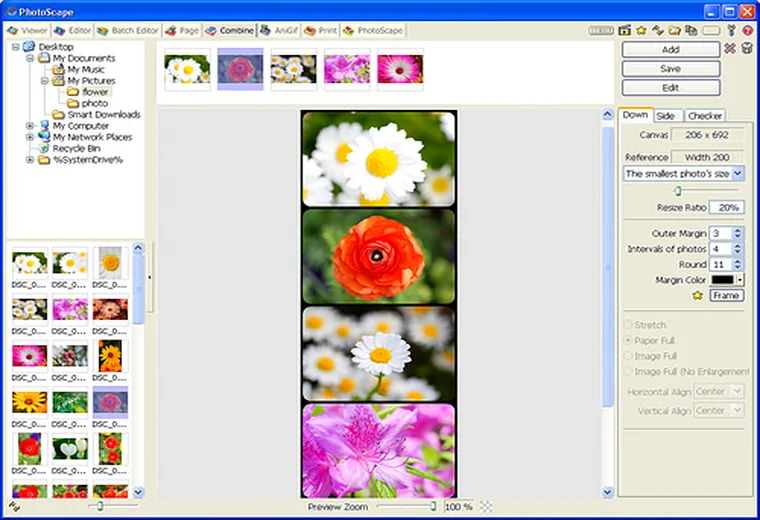
Method 2: Stitching Screenshots Side-by-Side or Vertically (Combine Tab)
Switch to the Combine tab when you want to attach photos end-to-end without cropping them into boxes:
- Down: Stacks images vertically into a long scrolling strip (great for webtoons, chat logs, and recipe steps).
- Side: Places images horizontally for Before/After comparisons.
- Checker: Arranges photos into an automatic N-column contact sheet.