
Part 1: Using PhotoScape's Built-In Screen Capture Tool
PhotoScape's Screen Capture module captures any region of your Windows or Mac display — Full Screen, Active Window, Foreground Client Area, or a Freehand Rectangular Selection — and either copies the bitmap to your clipboard or opens it directly inside the PhotoScape Editor tab for instant annotation.
The 4 Screen Capture Modes Explained
| Capture Mode | What It Grabs | Best Use Case |
|---|---|---|
| Capture Full Screen | Entire desktop across your primary monitor | Full-screen game captures, desktop layouts, taskbar tutorials |
| Capture Window | Any window or dialog box you hover over (auto-detected border) | Clean software documentation without manual cropping |
| Capture Region (Rect) | Click-and-drag crosshair box with live W × H px readout | Cropping specific charts, error messages, or web elements |
| Repeat Last Capture | Re-captures the exact same pixel coordinates as your previous shot | Recording sequential step-by-step UI states at identical dimensions |
Pro Workflow: Annotating Screenshots with Magnifier Lenses, Arrows & Mosaic Blur
- In the Screen Capture dialog, set Open in Editor as the default action after capture.
- Once your screenshot opens in the Editor, switch to the Object tab to add numbered step circles, speech balloons, or 2-pixel red highlight boxes.
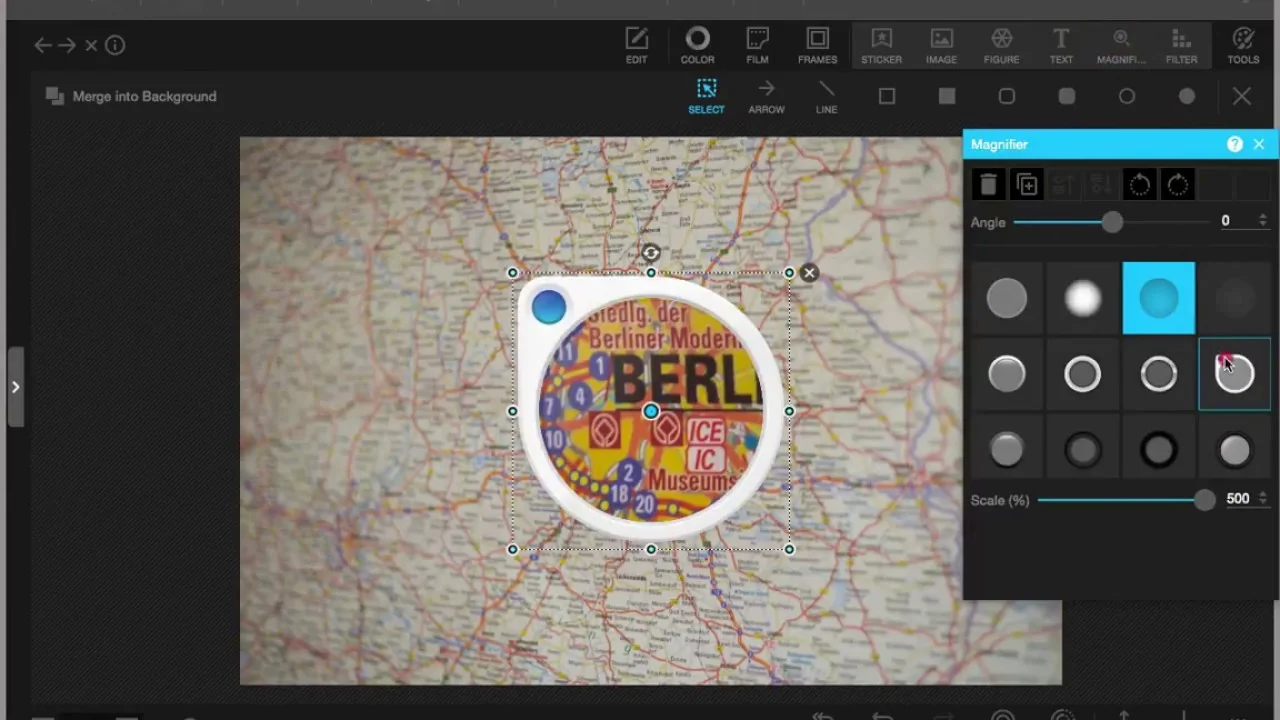
- Add a Zoomed Callout Lens: In PhotoScape X (see PhotoScape X vs 3.7), select the Magnifier object tool to place a circular 2× or 3× zoom loupe over tiny UI buttons so readers can see fine details on mobile screens.
- Blur Sensitive Data (Mosaic / Jitter): Before sharing a screenshot publicly, select the Region (Mosaic) tool on the Tools tab and drag over email addresses, API keys, or account numbers to permanently pixelate them.
Part 2: Using the PhotoScape Color Picker (HEX & RGB Eyedropper)
The Color Picker utility turns your mouse cursor into a 15× magnified pixel loupe that can sample any pixel anywhere on your Windows desktop — inside a web browser, a PDF, a video player, or another app — and immediately converts the color into hexadecimal (#RRGGBB) and decimal R, G, B values.
- One-Click HEX Copy: Click and hold the eyedropper icon, hover over any pixel on your screen while watching the magnified crosshair grid, and release the mouse button. Click the Copy icon next to the HTML/HEX code (e.g.,
#0B5CAB) to paste it straight into CSS, Figma, or PhotoScape's text/background swatch. - Recent Color History: The bottom strip of the Color Picker remembers your last 12 sampled swatches so you can extract a complete 5-color brand palette from a reference photograph in seconds and apply it to your Page Collages or product cutouts.
Frequently Asked Questions
Can PhotoScape's Color Picker sample colors outside of PhotoScape (like from Chrome or a PDF)?
Yes! Click and drag the eyedropper icon from the Color Picker window onto any open window on your monitor — including Chrome, Edge, PDFs, or video players — to inspect and copy its exact HEX and RGB color code.
Why should I save screenshots as PNG instead of JPG?
JPEG compression uses 4:2:0 color subsampling designed for camera photos, which creates blurry halos around sharp UI text and solid-color buttons. Saving screenshots as PNG (or turning them into a tutorial strip in the Combine tab) keeps text 100% razor-sharp.
What does 'Repeat Last Capture' do in the Screen Capture tool?
It remembers the exact X, Y, Width, and Height coordinates of your previous region selection. When creating a 6-step software tutorial or an Animated GIF, clicking 'Repeat Last Capture' ensures every frame has identical dimensions.
Can I include or hide the mouse cursor in PhotoScape screen captures?
Yes. Check or uncheck the 'Include Cursor' option inside the Screen Capture utility window before taking your shot.